Comparing and Reviewing Photos
Compare similar photos by switching between them, placing them side by side, or viewing them in a grid. Focus Peaking and AF Area help you check sharpness.
Blink Compare
Press B in the viewer to switch between the current photo and its neighbor at the same zoom and position.
- Tap B to switch; press it again to switch back.
- Hold B to show the neighbor only while you hold the key.
Ratings, flags, and color labels apply to the photo currently on screen. Moving to another photo ends Blink Compare. Choose the neighboring direction in Settings ▸ Viewer ▸ Advanced ▸ Default comparison pair.
Compare
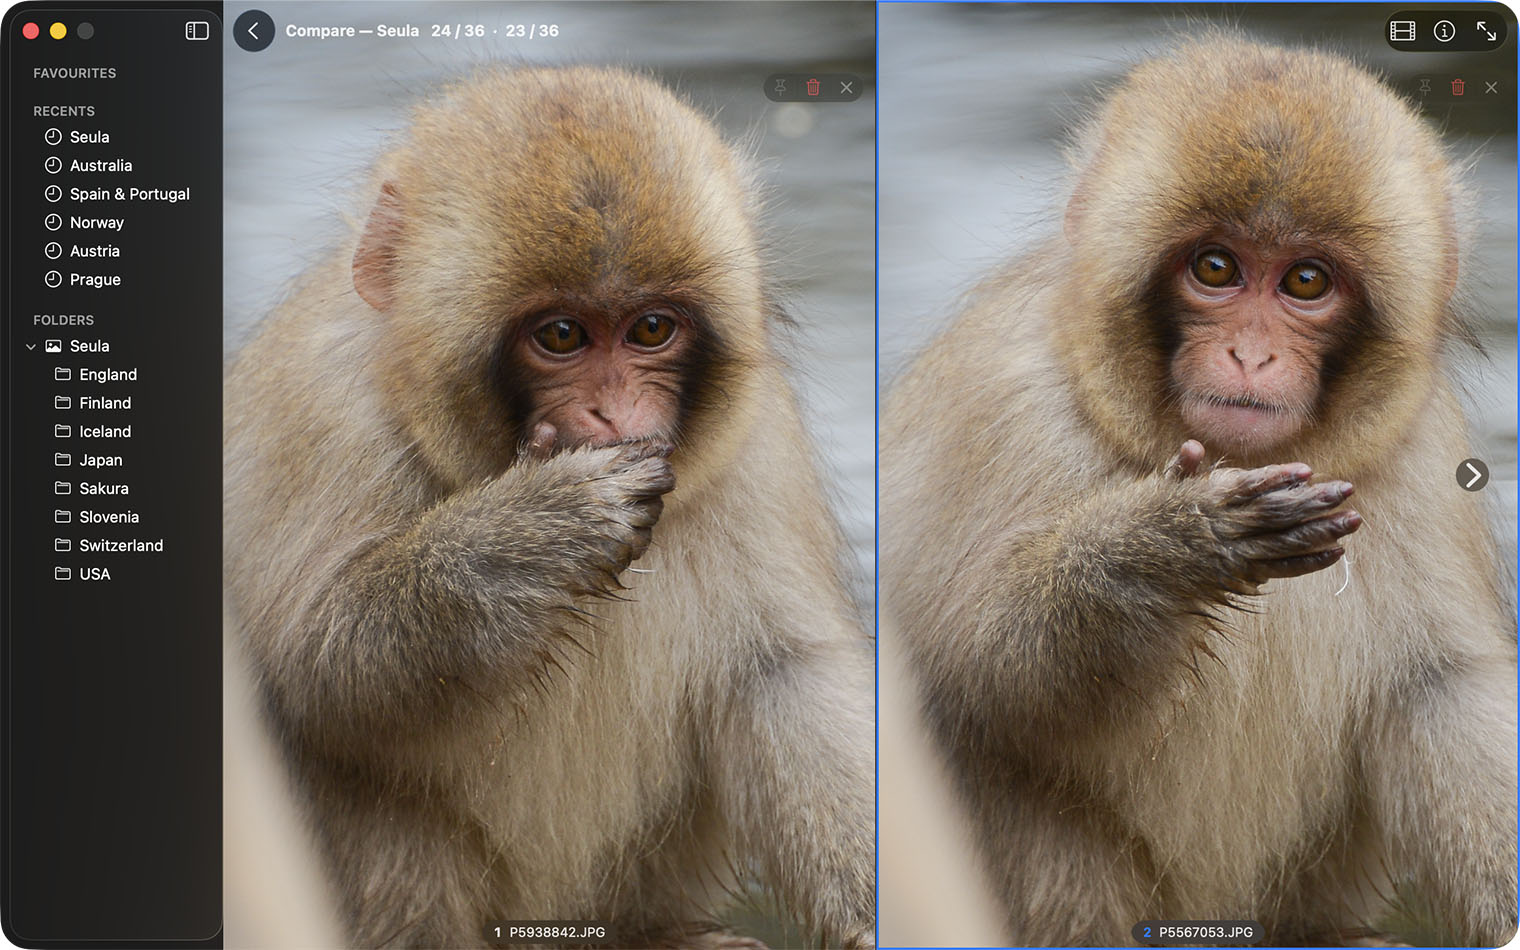
Compare shows two to four photos side by side.
- Select two to four photos in the browser.
- Press C.
- Rate or flag the photos as usual.
- Press C again to return to the viewer.
With one photo selected, Compare opens it with its neighbor. Tab moves the active pane. Double-click a filmstrip thumbnail to replace the active pane; ⌘-click adds a pane, up to four. Pin as Compare Reference keeps one photo in place while you change the others.
Survey
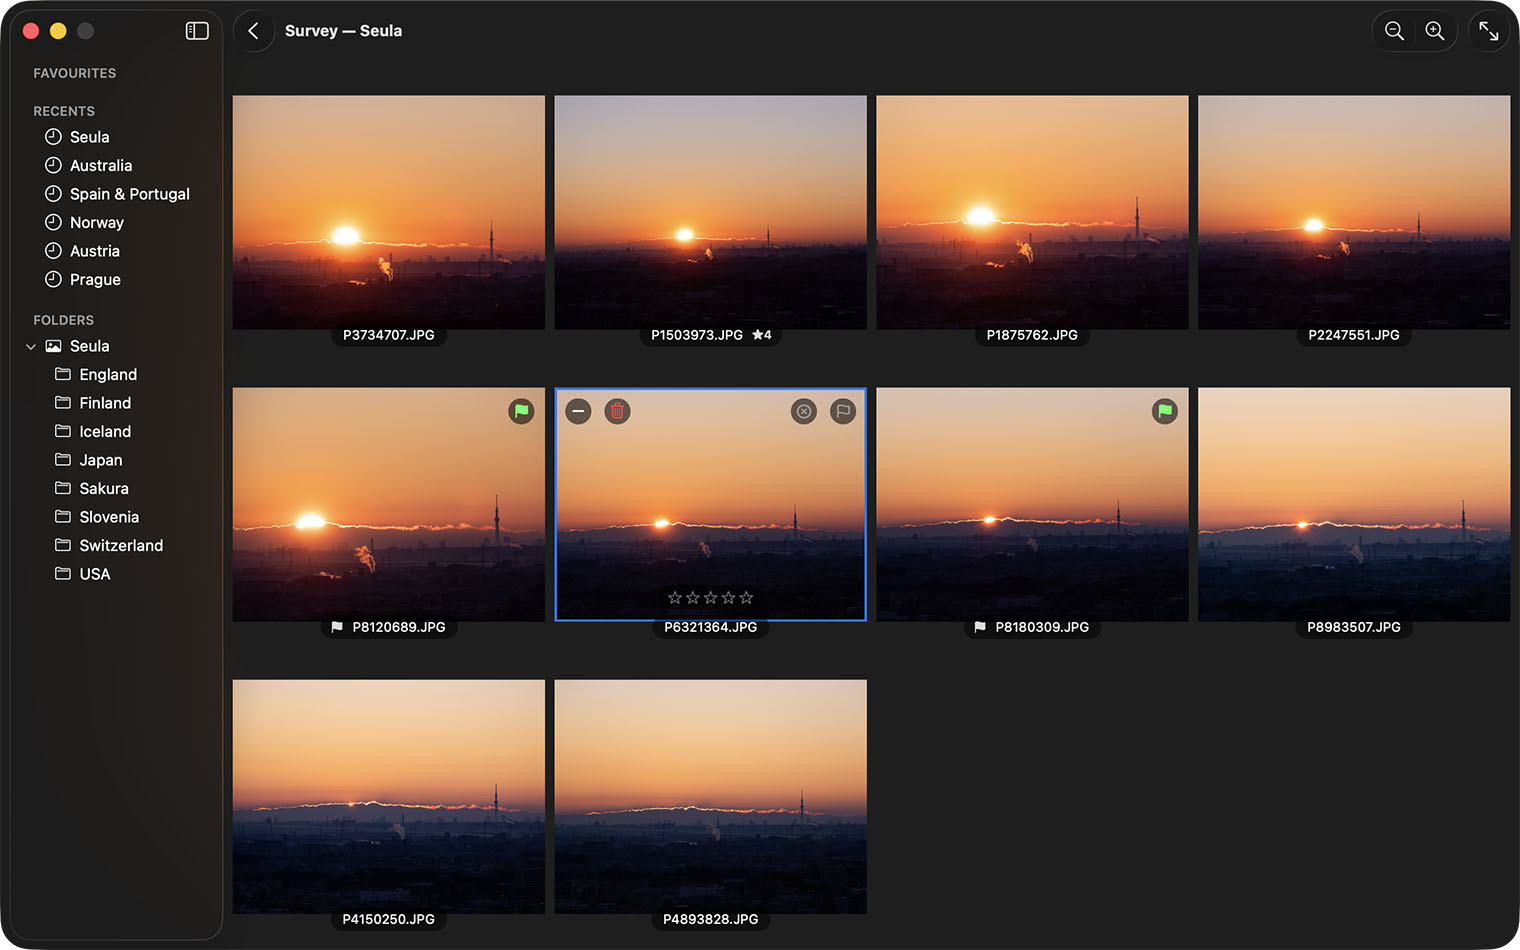
Survey shows two or more photos in a grid. Select photos in the browser and press N, or choose Image ▸ Survey. In the viewer, select several photos in the filmstrip with ⌘ or ⇧, then press N.
- Click a tile, then rate or flag the photo with the usual keys.
- P picks it and X rejects it. The pick and reject buttons appear on the tile under the pointer; a flag you have already set stays visible on every tile.
- The active tile shows a row of stars above its name. Click a star to rate the photo, or click the same star again to clear the rating.
- Double-click a tile, press Return, or choose Open in Viewer from its menu to open that photo full size. Esc brings Survey back.
- − on a tile, or Delete, removes it from Survey only; the file stays in place.
- The Trash button moves the photo to the Trash.
- Use the toolbar's ±, ⌘+, or ⌘− to change tile size. ⌘0 restores automatic layout.
- Hold Space, or press and hold a tile, to see the photo full size without leaving Survey. Its name, flag, rating, and colour stay visible along the bottom.
- Esc closes Survey.
Survey shows up to 100 photos. If you select more, Seula uses the first 100. Compare is usually better for two to four photos.
Focus Peaking
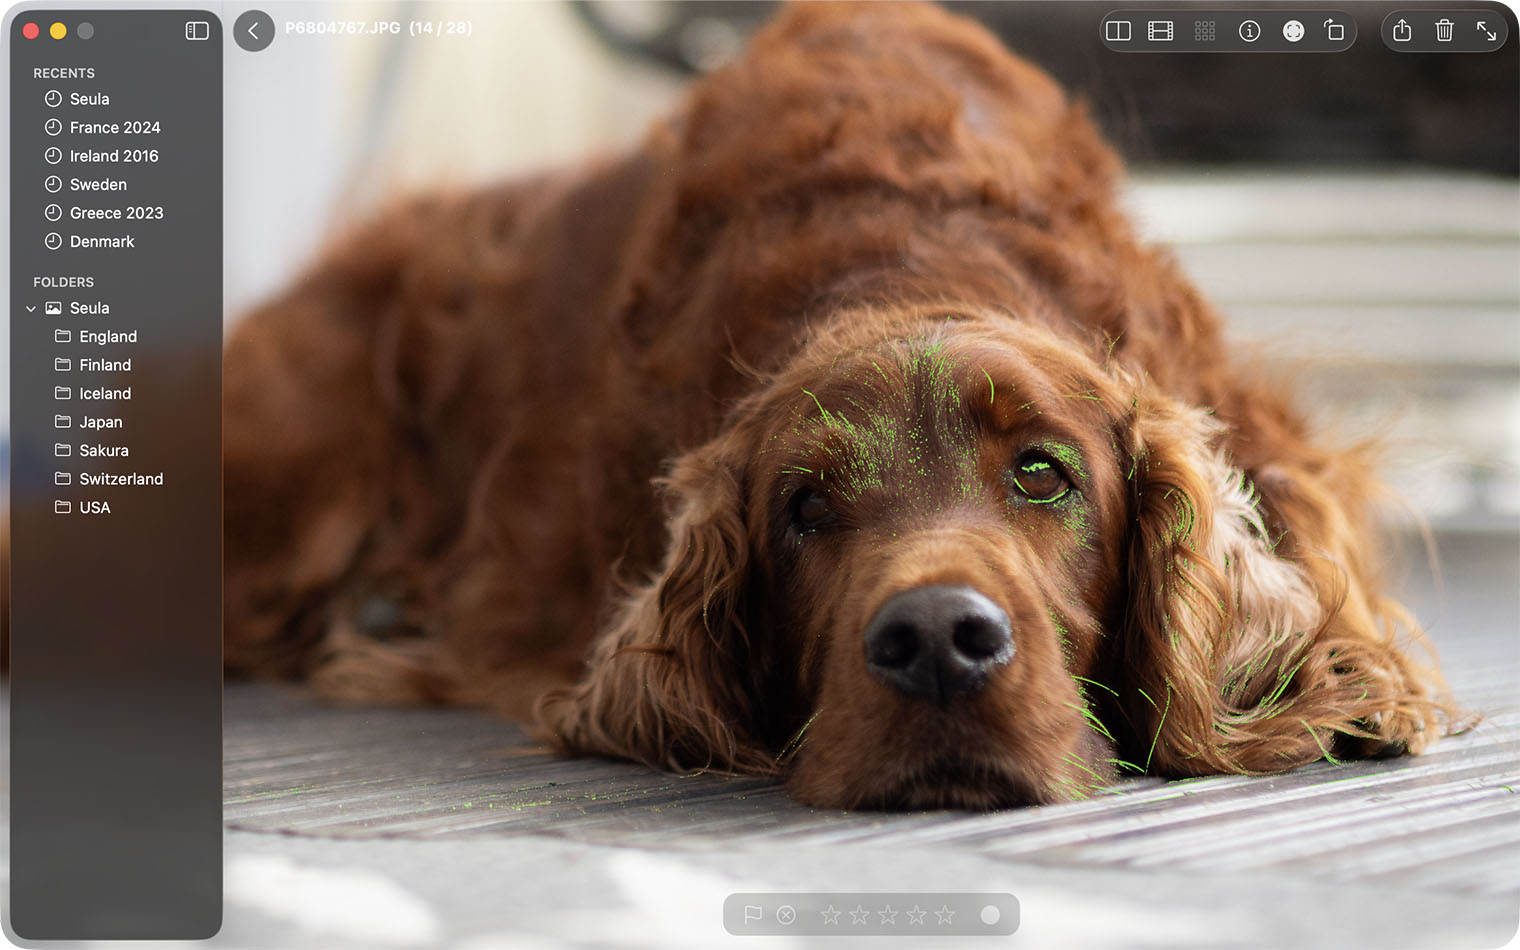
Press D, choose View ▸ Focus Peaking, or use the viewer toolbar's Image Analysis menu. Seula colors sharp edges in the photo. It works in the viewer, Compare, and Survey, and never changes the file.
Set Highlight amount and Highlight color in Settings ▸ Viewer ▸ Advanced ▸ Focus Peaking.
AF Area (Experimental)
AF Area (Experimental) shows the autofocus point or area stored in a photo's metadata. Choose it from the viewer toolbar's Image Analysis menu or View, or press ⌥D. For one-click access, add AF Area (Experimental) with View ▸ Customize Toolbar.
Only some cameras provide this information, and its position is approximate. You can use AF Area and Focus Peaking together; the AF marker remains orange and neither aid changes the file.